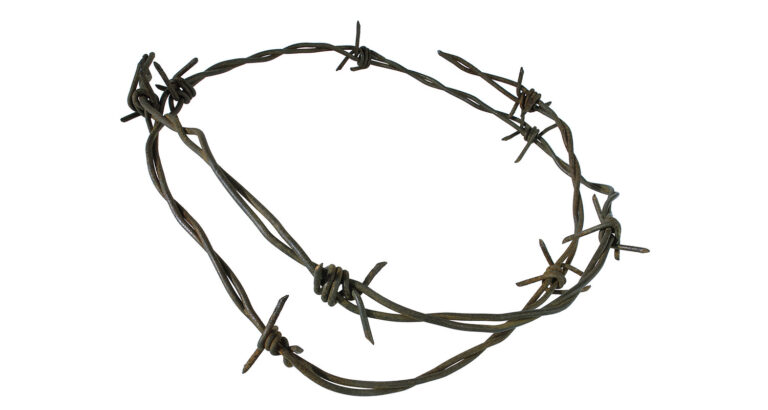
In a not-so-distant epoch, my wandering eyes chanced upon these resplendent trinket boxes while perusing the digital tapestries of Pinterest. Ah, Cupid’s arrow struck my heart, but the price tag sang a tad too high for my coin purse’s liking. But fear not, destiny had a crafty twist – the fabled realm of DIY! Listen closely, for if your metallic cravings remain unsated post-festive revelry, then brace yourself for a tutorial that promises to satiate your artistic hunger. Here is an article on The Make Arcade- Felt Succulents.
Gather the following: sheets of metallic contact paper, humble paper mache boxes, trusty scissors, and a trustier pencil.
First, embark upon the mystical journey thus: Step 1 beckons you to trace the contours of the box’s regal lid. Step 2, a ballet of measurement, instructs you to employ said lid on its side, extending the dance of dimensions twofold to enrobe the inner and outer edges in shimmering splendor. As Step 3 unveils itself, let scissors liberate the shape from its paper prison, revealing a tapestry of stickiness. Apply this masterpiece to the box’s epicenter, a proclamation of adhesion worthy of the gods.
Refer: Crochet Patterns for Doll Clothes: Top Designs for 2023
Step 4 calls for a ceremonial snipping, an alternating choreography of straight and angled incisions that transforms the lid’s corners into a symphony of finesse.
Emerging from the veil of meticulous incisions, Step 5 beckons you to orchestrate an ensemble of folded edges, a crescendo preceding the divine snip that cleaves straight to the edge of the lid, opening the door to an inner sanctum.
A virtuoso performance by a long strip of contact paper takes center stage in Step 6. This strip, endowed with the majesty to encircle the box’s base and more, unfurls as if the tapestry of Midas himself were woven anew. With the paper’s backing shed like a chrysalis, the paper’s embrace tightens around the box, leaving an elegant surplus of 2cm above and below.
The box’s underbelly, in Step 7, is graced by a profound incision, a straight descent into new possibilities. The edges become wings, flapping as if to signal an artistic ascension.
And then, like a protagonist discovering their true essence, the box is righted in Step 8. A reverent incision descends towards the box’s lip, flaps subsequently folded with poetic finesse. Should any edge yearn for liberation, a wisp of adhesive shall secure their loyalty.
Refer: Choosing Wisely: A Comprehensive Cricut Machine Comparison
Now, seeker of the aesthetic grail, the trinket boxes stand ready to host your treasures – guardians of your New Year’s resolutions, poised as chic custodians of your workspace’s elegance. If you dare, ponder the potential they possess as enchanting vessels of affection, capable of cradling your heartfelt gifts.
And as my heart flutters with love profound, more vibrant than the very inspiration that birthed them, let me confess to this newfound ardor for metallic contact paper. In a whirlwind of enthusiasm, I embark on a quest to imbue all I touch with the essence of gold, turning the ordinary into the extraordinary.
Yours in creativity and possibility,
Sammy xxx

I am Sammy and I blog at Live it. Love it. Make it. It is creative lifestyle blog run by best friends H and Sammy. Head over and follow our crafty adventures!